The Hobbit™ Parchment Map #2
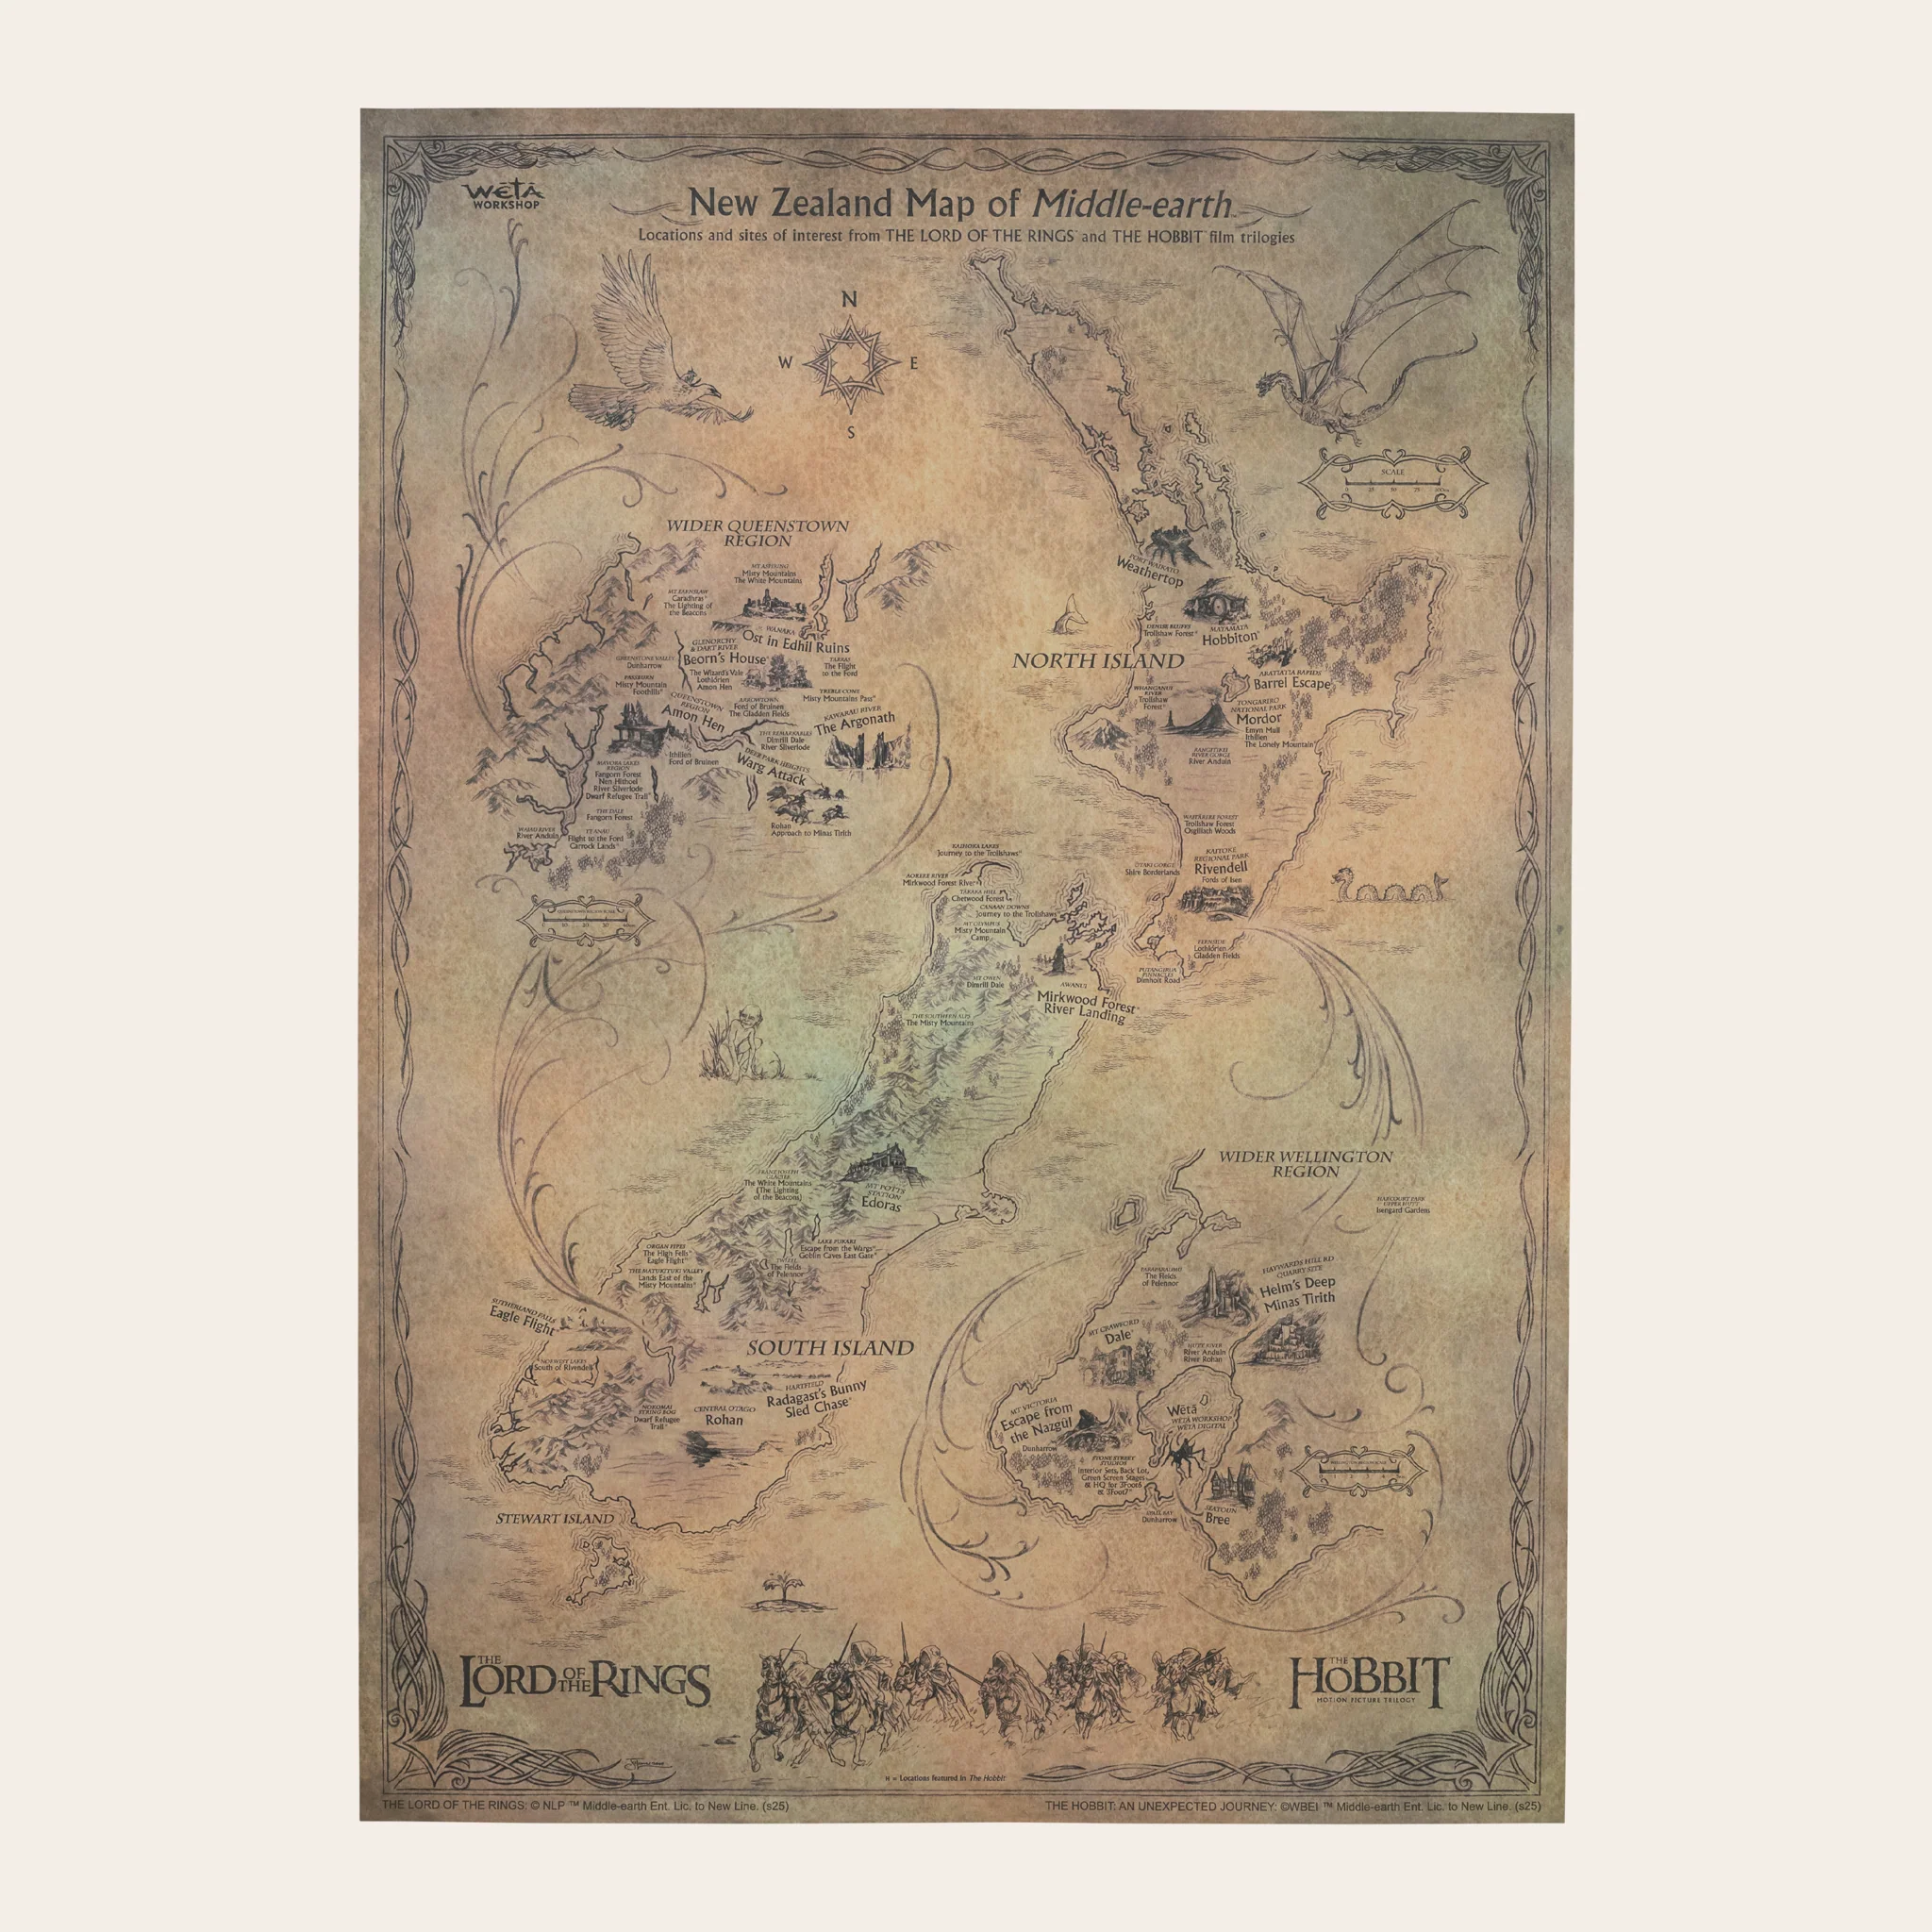
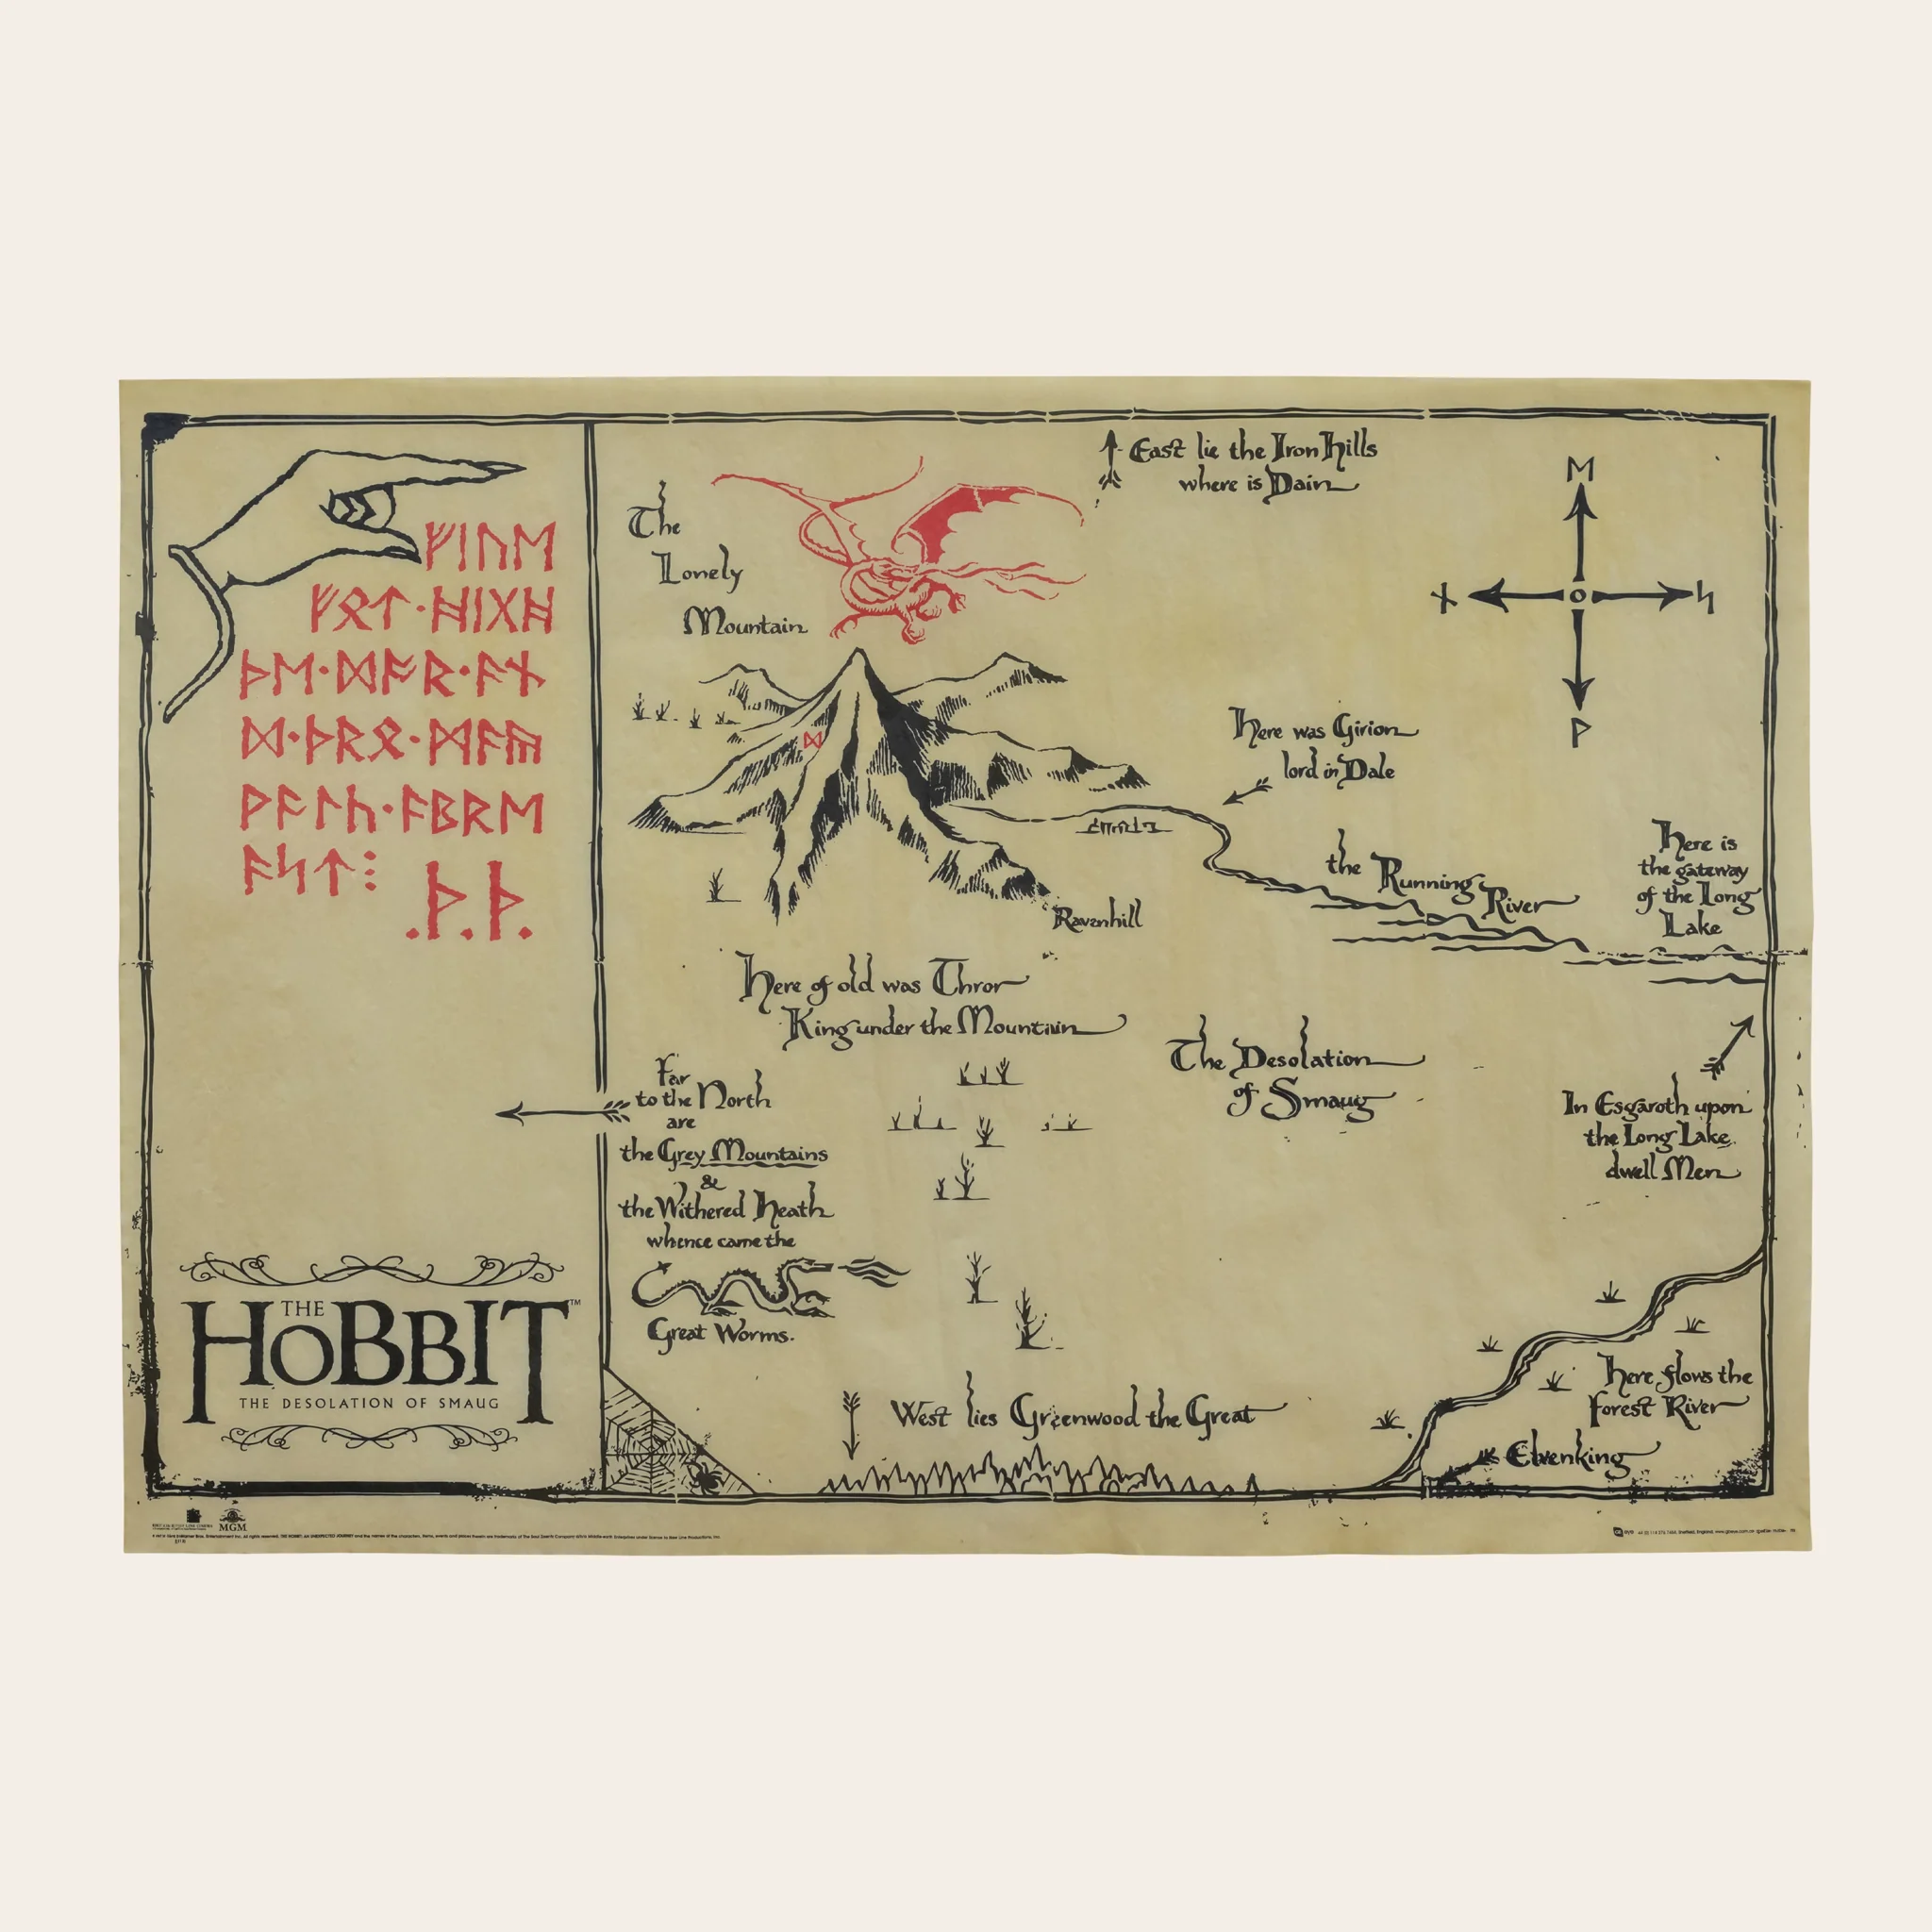
Explore Middle-earth™ with this beautifully detailed parchment map from The Hobbit: The Desolation of Smaug™. Featuring the Lonely Mountain, the Desolation of Smaug, Lake-town, and more, this collectible map recreates Thorin Oakenshield™ journey with vintage style and authentic film-accurate details.
Printed on premium parchment-style paper, it offers an aged, weathered look that feels like it was pulled straight from the wizard’s study.
Product Highlights:
- Size: 660mm x 460mm (26" x 18.1")
- Printed on high-quality parchment-style paper
- Iconic map design from The Hobbit: The Desolation of Smaug
- Includes Dwarvish runes, locations like Erebor and Mirkwood, and the flight path of Smaug
- Ideal for framing, gifting, or adding to any Tolkien collection
Ready to Frame: Standard poster size fits most frames (frame not included)
Product Information
Product Information
Shipping & Returns
Shipping & Returns
Description
Explore Middle-earth™ with this beautifully detailed parchment map from The Hobbit: The Desolation of Smaug™. Featuring the Lonely Mountain, the Desolation of Smaug, Lake-town, and more, this collectible map recreates Thorin Oakenshield™ journey with vintage style and authentic film-accurate details.
Printed on premium parchment-style paper, it offers an aged, weathered look that feels like it was pulled straight from the wizard’s study.
Product Highlights:
- Size: 660mm x 460mm (26" x 18.1")
- Printed on high-quality parchment-style paper
- Iconic map design from The Hobbit: The Desolation of Smaug
- Includes Dwarvish runes, locations like Erebor and Mirkwood, and the flight path of Smaug
- Ideal for framing, gifting, or adding to any Tolkien collection
Ready to Frame: Standard poster size fits most frames (frame not included)